|
|
|
|
Singlecut semi-hollowbody electric #015 | |
|
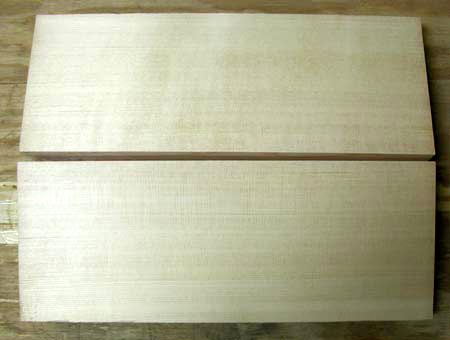
Sitka spruce. | |
 | |
|
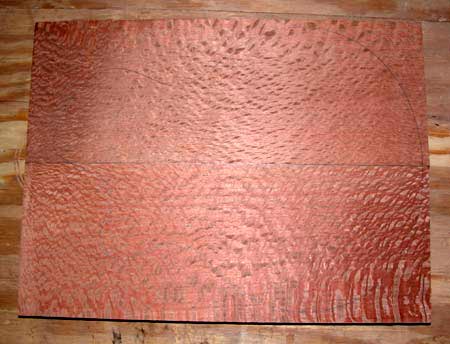
Lacewood. | |
 | |
|
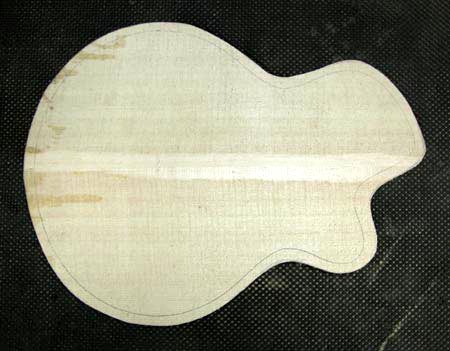
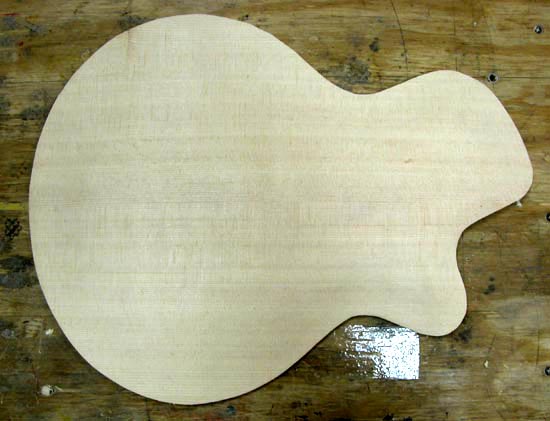
The top glued and ready to start carving the arch. | |
 | |
|
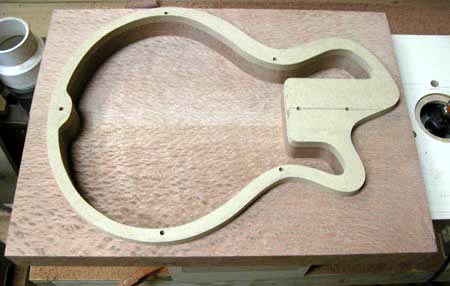
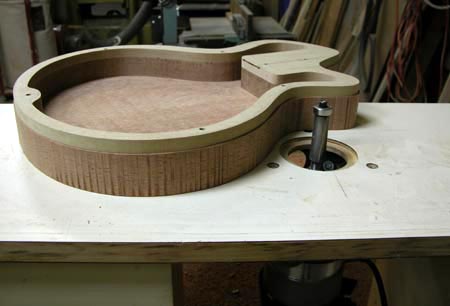
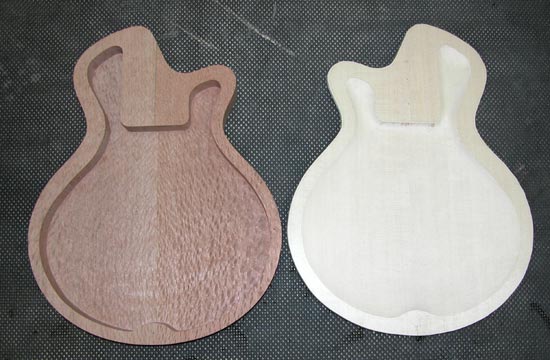
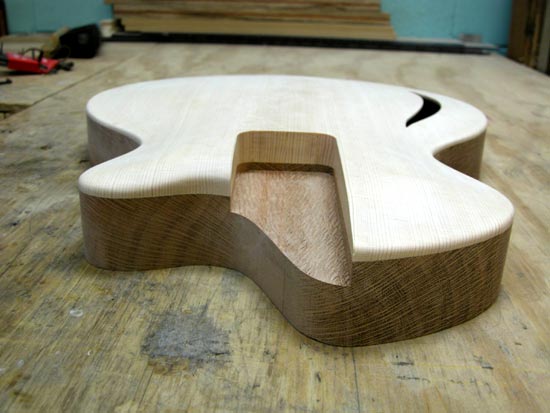
The body has been routed with a template to remove the mass of material that makes this a semi-hollow. | |
 | |
|
The same template will serve to route the perimeter. | |
 | |
|
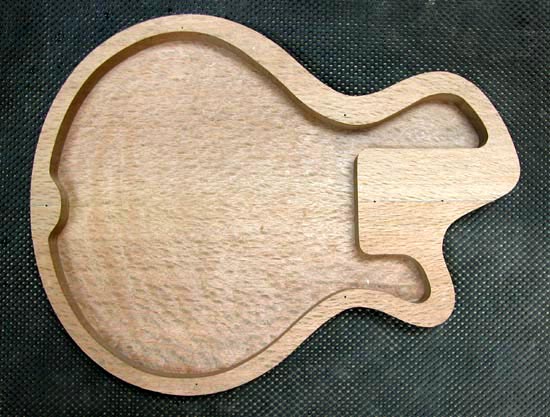
The body completely routed. | |
 | |
|
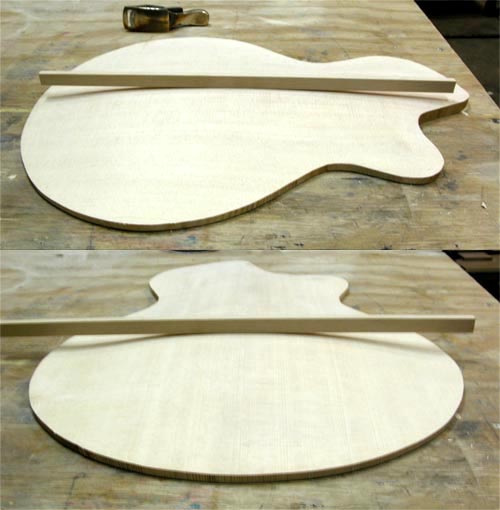
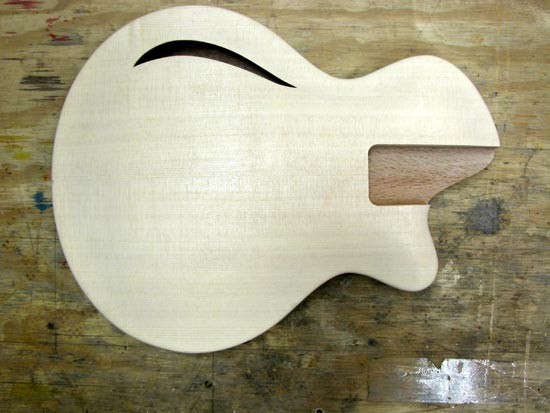
The top carved. | |
 | |
|
Straight edges are placed over the top to show the arch better. | |
 | |
|
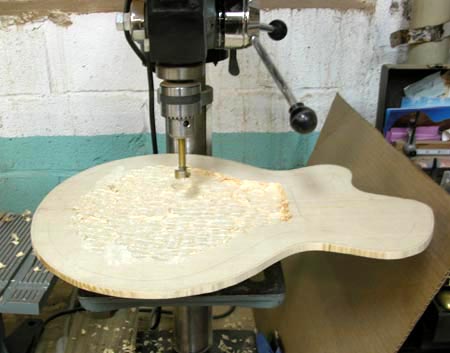
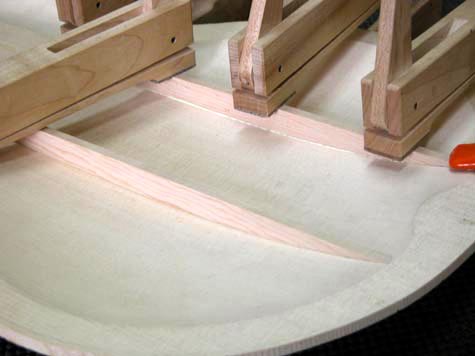
Roughing out the inside arch. | |
 | |
|
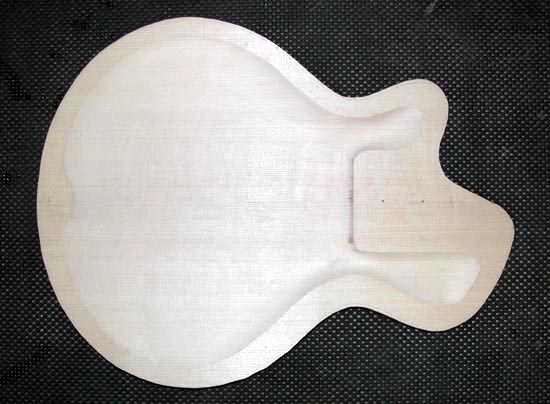
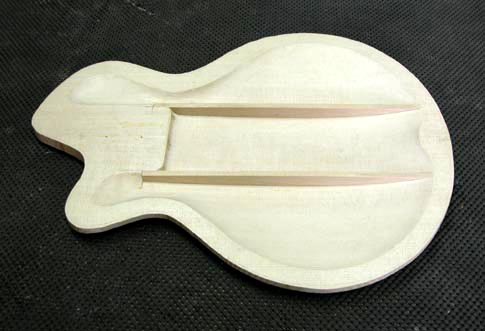
Inside carve complete. | |
 | |
|
Body and top so far. Ready for bracing. | |
 | |
|
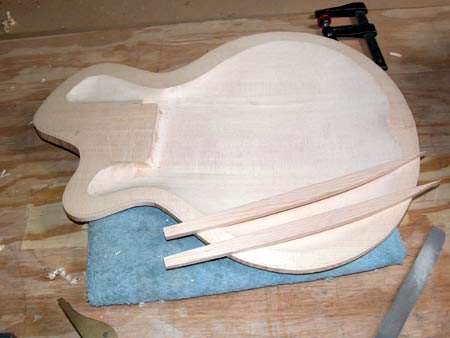
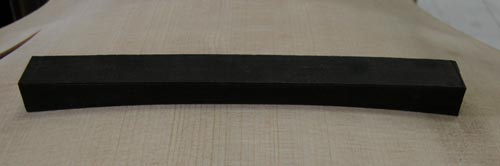
Braces are carved for an exact fit. No slop is tolerated for the braces. | |
 | |
|
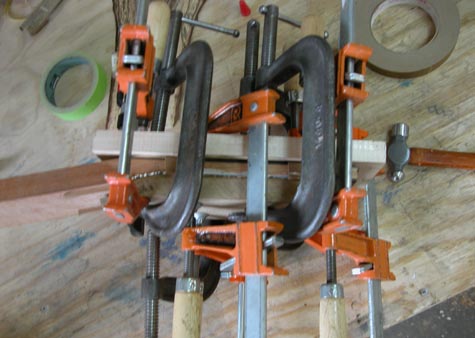
Braces are glued into place. | |
 | |
|
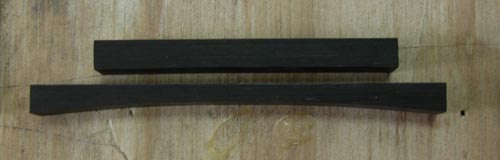
Bracing complete. The brace ends will be locked into place when glued to the body. | |
 | |
|
The headplate veneers are glued onto the front and back of the headstock. | |
 | |
|
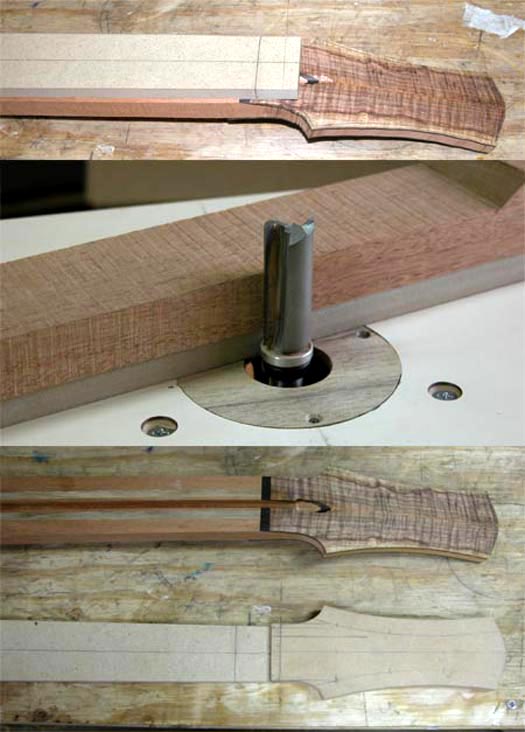
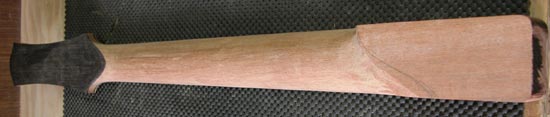
Neck taper and headstock shape are routed next. | |
 | |
|
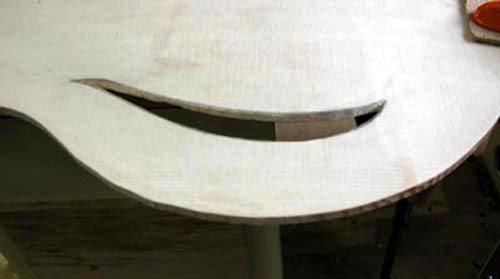
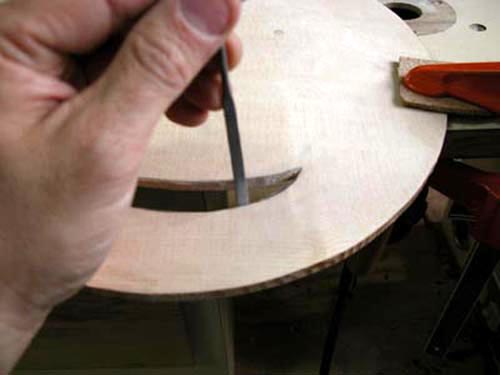
Single top sound hole is sawed out with a coping saw. | |
 | |
|
The soundhole is smoothed and shaped with a razor and files. | |
 | |
|
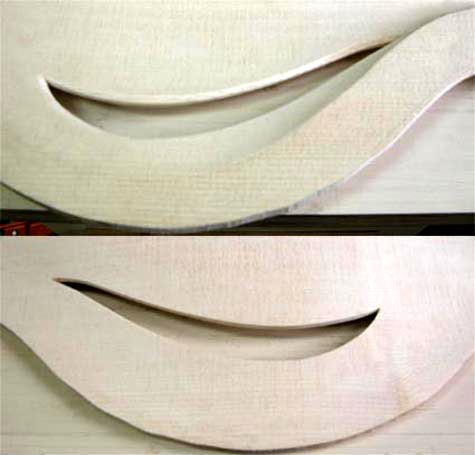
Soundhole complete. | |
 | |
|
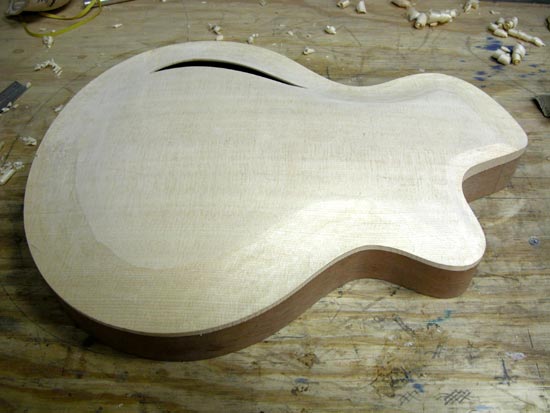
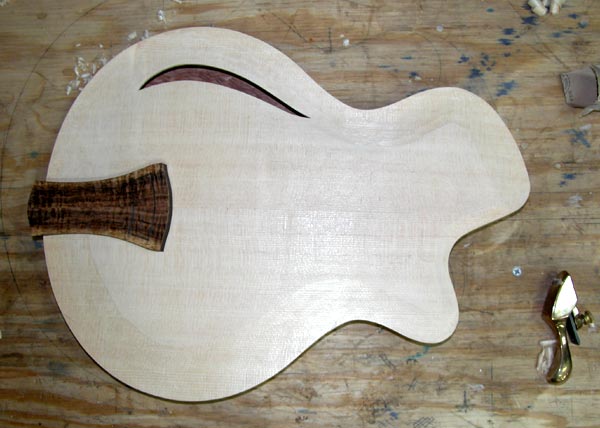
The top glued onto the body. Sweet!~ | |
 | |
|
The recurve is starting to be carved. | |
 | |
|
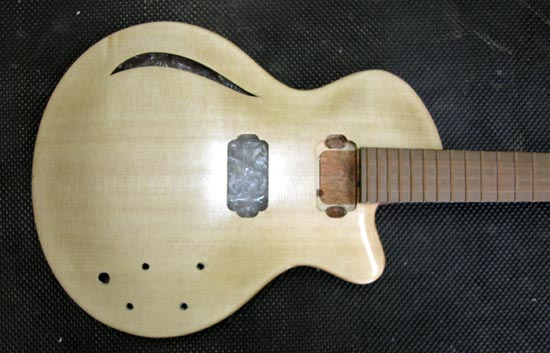
The tailpiece in place to show how the guitar will look. | |
 | |
|
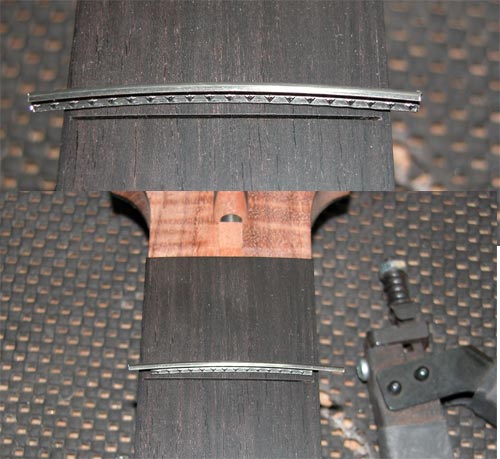
The binding is cut and taped into place after the inlay is completed. | |
 | |
|
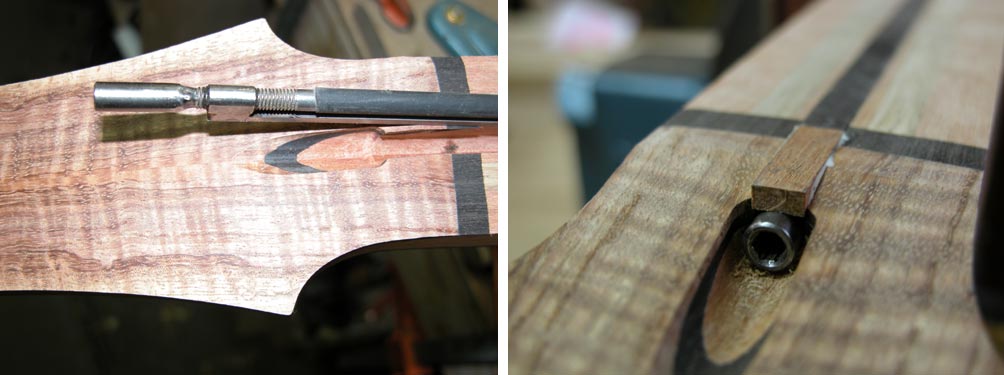
The truss rod is filed round on the ends so that it fits into the round bottom slot. | |
 | |
|
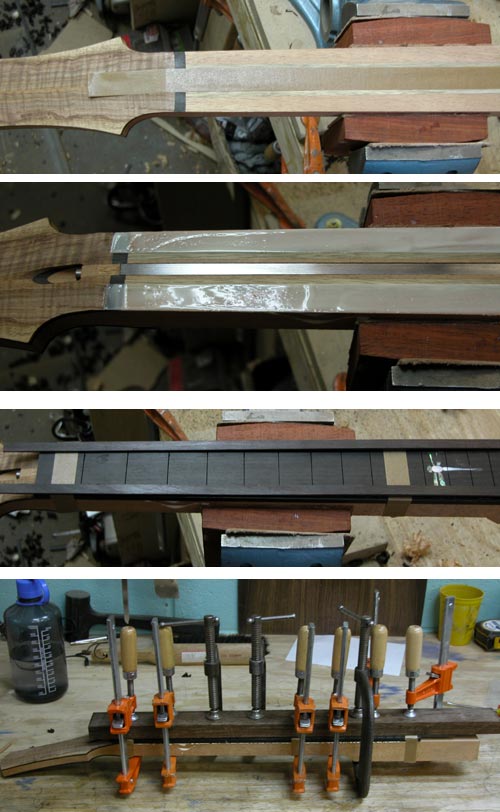
The fingerboard is glued on. The tape over the truss rod prevent too much glue | |
 | |
|
Once glued the fingerboard is routed to fit using the neck as a template on the router table. | |
 | |
|
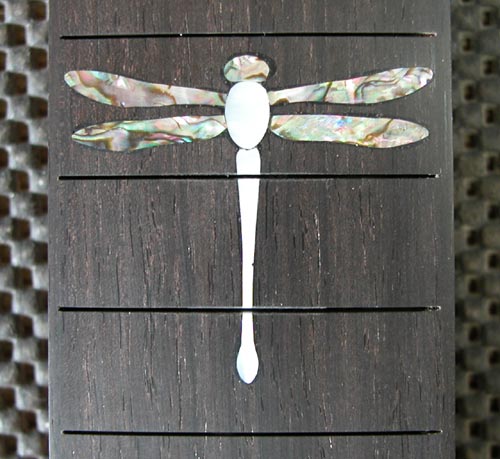
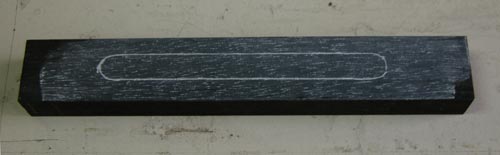
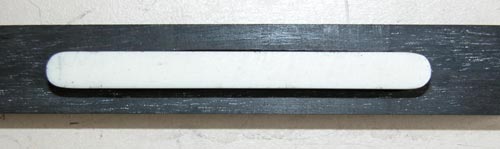
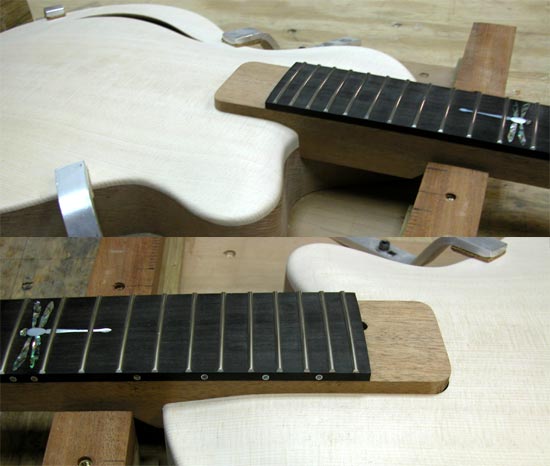
Here is a close up of the dragonfly inlay. | |
 | |
|
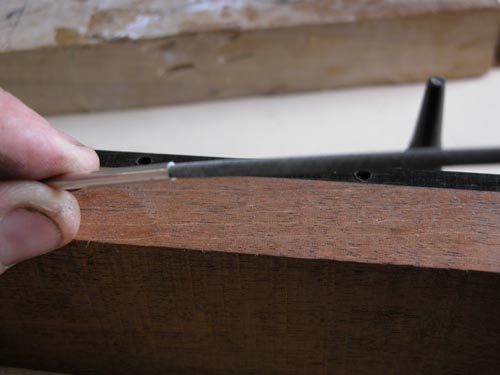
The next few photos show how I do the side dot markers. I use a shell dot, in this case Paua, and tubing to surround it. I used silver. First the holes are drilled. | |
 | |
|
For each dot the silver tubing is cleared and filed to fit the slightly oversized shell dot. | |
 | |
|
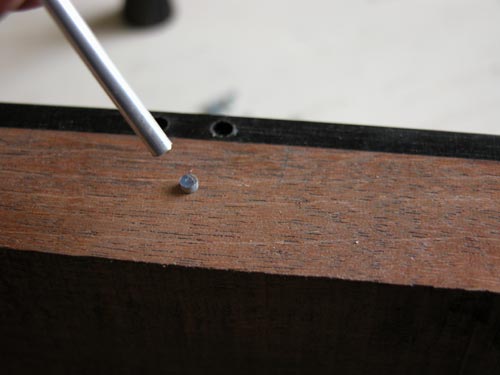
The tubing is pressed over the dot and tapped into place with a small hammer. | |
 | |
|
The dot is in place. | |
 | |
|
The tubing is cut the length of the dot material thickness. | |
 | |
|
The dot ready to glue. | |
 | |
|
The dot complete and ready to sand flush. | |
 | |
|
The bridge blank is scribed along the arched top. | |
 | |
|
It is then cut on a bandsaw and filed to shape. | |
 | |
|
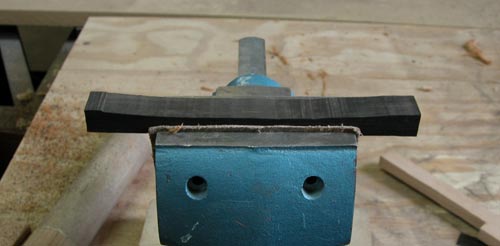
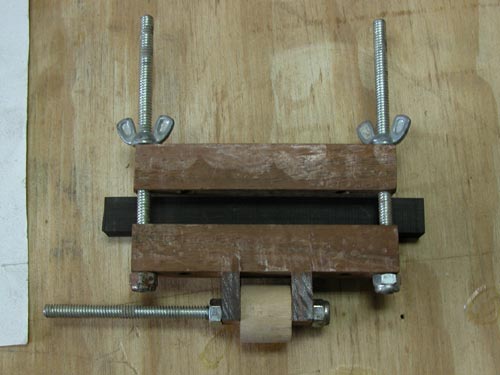
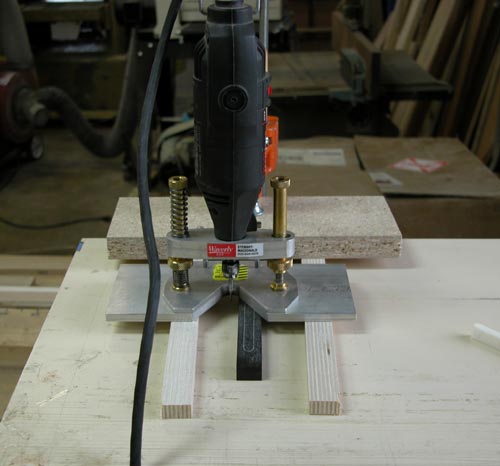
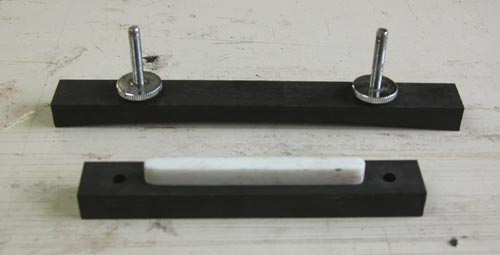
I made this jig from the Benedetto book to sand the bridge bottom on the arched top. | |
 | |
|
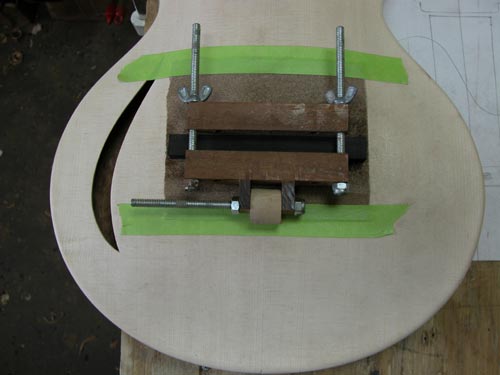
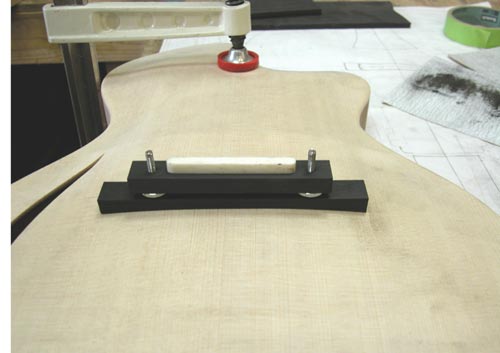
The jig in action. | |
 | |
|
Perfect fit! | |
 | |
|
The bridge pieces: | |
 | |
|
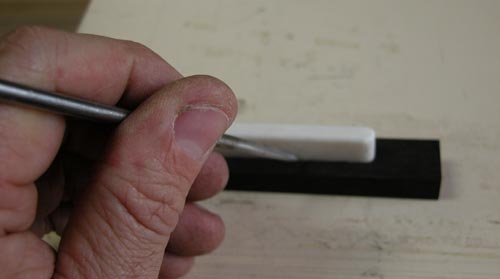
The bone saddle. This is going to have a bone nut as well. It should have a great acoustic tone. | |
 | |
|
The outline of the bone is scribed onto the ebony piece with an awl. | |
 | |
|
Chalk is rubbed into the outline to give us a line to work with. | |
 | |
|
The ebony is taped to the table and 2 rails hold the router to height. The outline is routed to 3/16". | |
 | |
|
There is a little slop in the cut. | |
 | |
|
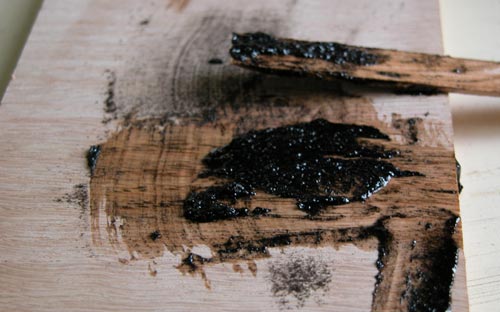
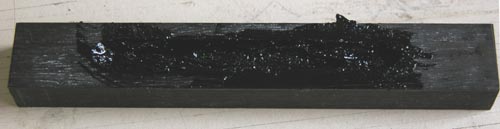
A mixture of epoxy and ebony wood dust is prepared. | |
 | |
|
After wetting the slot with just epoxy the mixture is pressed into the slot. | |
 | |
|
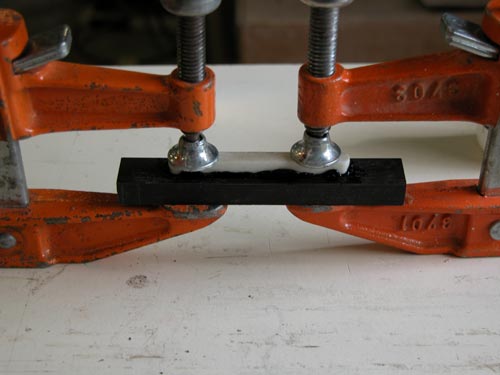
The bone saddle is waxed heavily and pressed into the slot and clamped until cured. | |
 | |
|
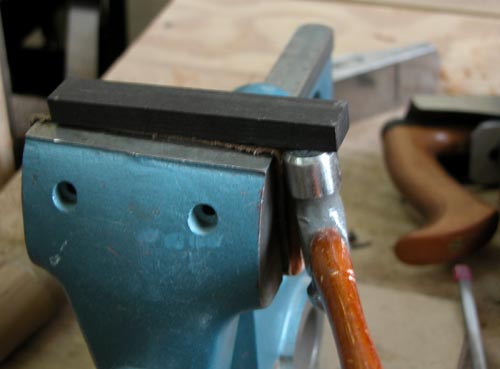
With just the saddle in a vise hit the ebony with a small hammer to realease. | |
 | |
|
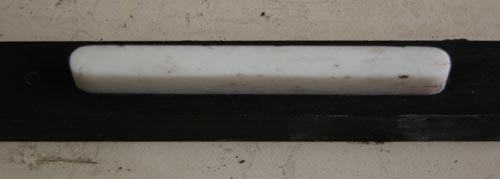
Another perfect fit! Works great on acoustic guitar bridges too. | |
 | |
|
Next the thumbscrew holes are drilled. | |
 | |
|
Thumbscrews are in place. | |
 | |
|
The bridge is ready for final shaping and carving. | |
 | |
|
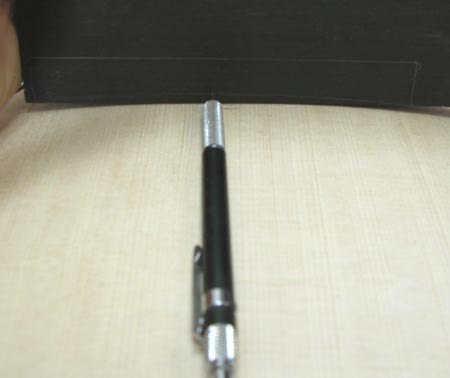
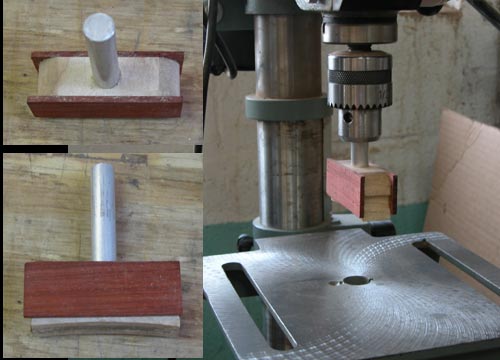
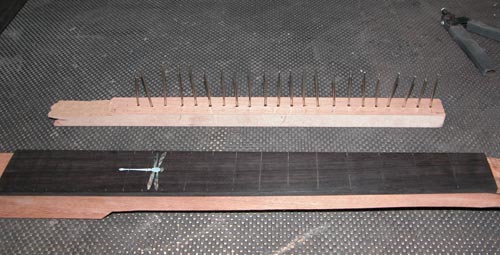
Here is a pic of my homemade fret press. I cut off an end of a Stew Mac radius sanding block and put a dowel in it to fit onto a drill press. | |
 | |
|
Here is a pic showing the fret being cut to size and the end overhang cut to fit over the binding. | |
 | |
|
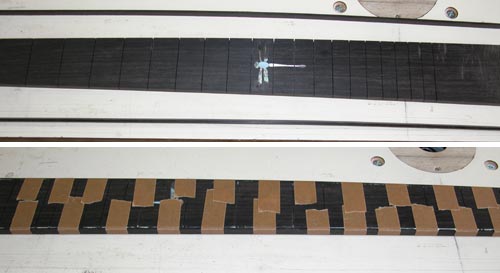
All the frets ready to go. | |
 | |
|
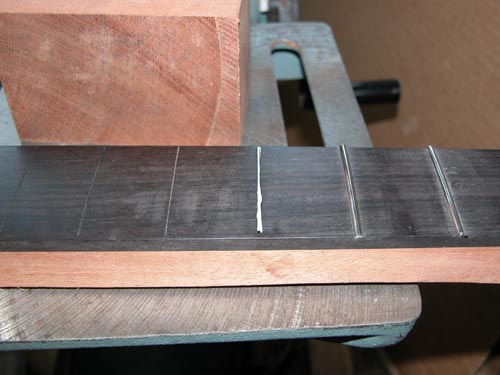
First run a tiny bead of Titebond glue into the slot. | |
 | |
|
Then fit the fret in place. Use a small hammer if you need to tap it in a bit. | |
 | |
|
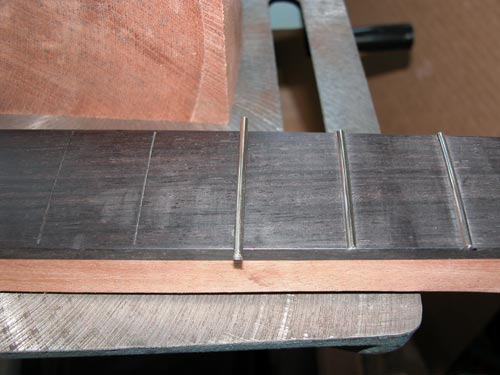
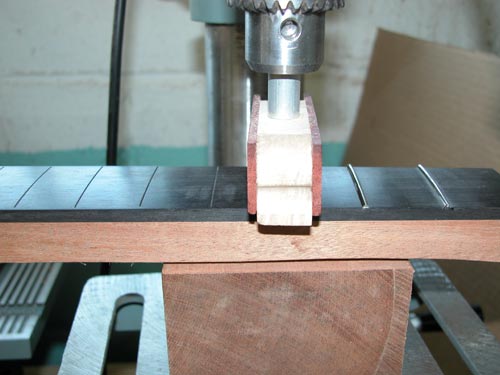
Then press it in with the fret press. Make sure it seats well. | |
 | |
|
The fret cleaned of glue and the ends trimmed. | |
 | |
|
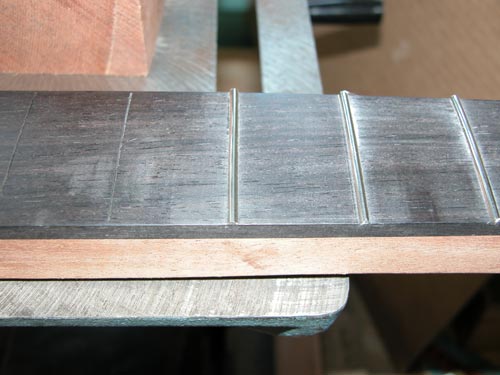
The whole neck fretted. | |
 | |
|
The final step involves putting one drop of gap filling super glue on every fret end. This keeps strings from getting underneath them. | |
 | |
|
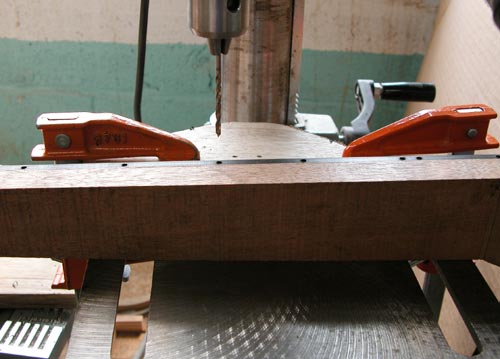
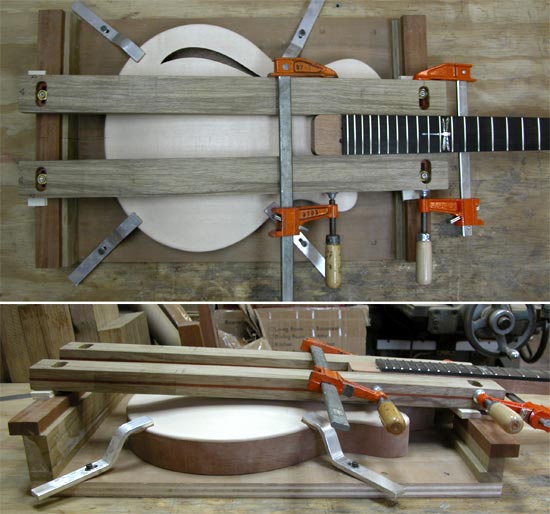
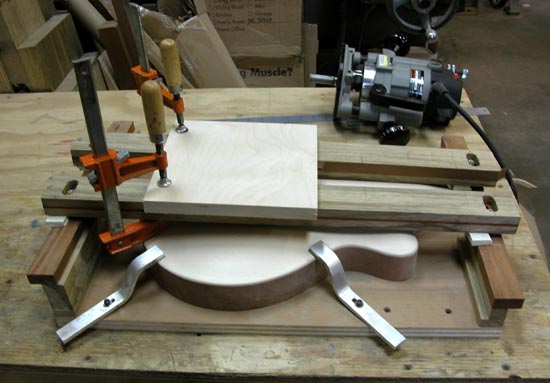
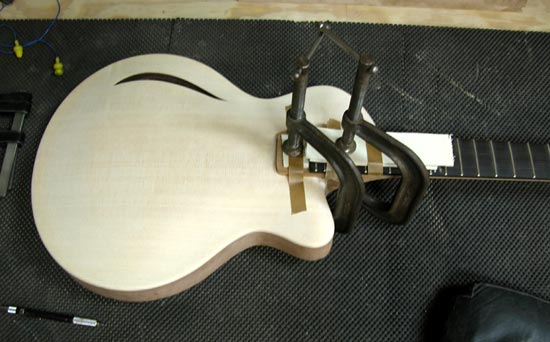
This setup is for routing the neck pocket. The guitar is clamped into place and the neck is clamped onto the straight edges. | |
 | |
|
Next a back stop is clamped into place and two layers of tape are put on the stright edges. For the final pass the tape is removed. | |
 | |
|
Nice tight fit! | |
 | |
|
Here is a shot from the front. | |
 | |
|
Top view. | |
 | |
|
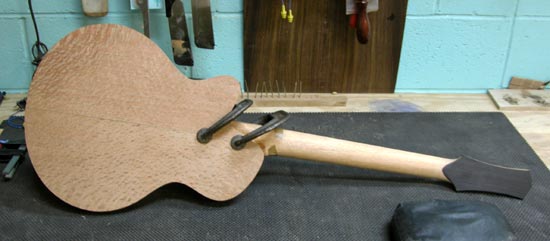
The neck roughed carved. | |
 | |
|
Back view of the neck glued in place. That lacewood looks nice! | |
 | |
|
Top view of the neck in clamps. | |
 | |
|
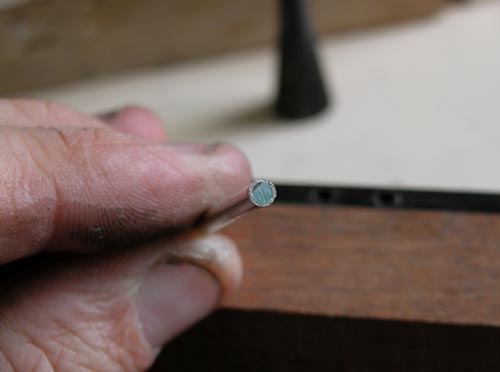
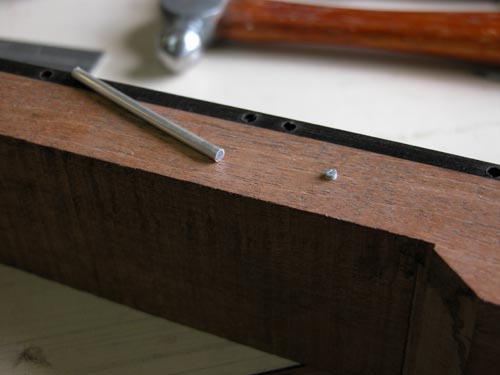
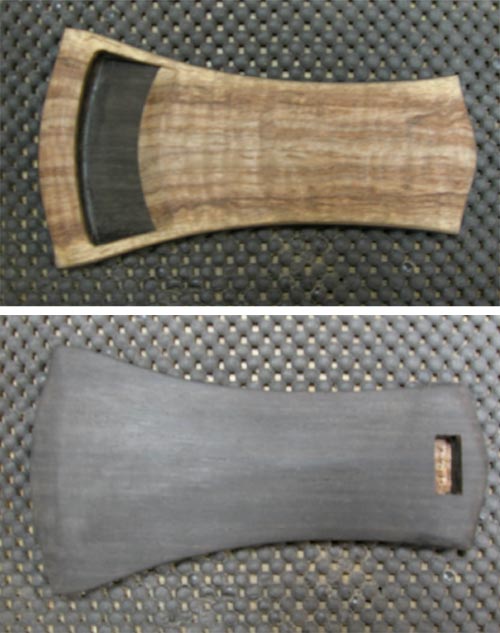
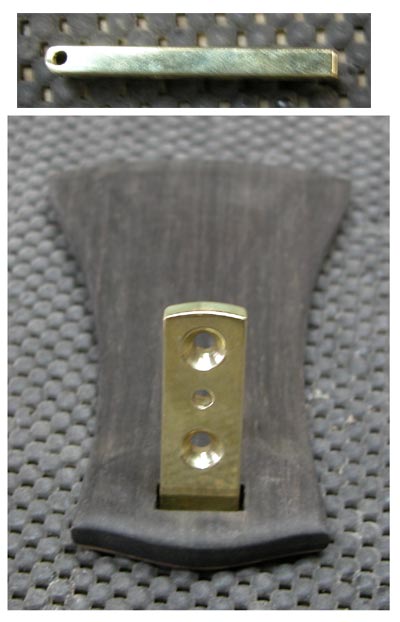
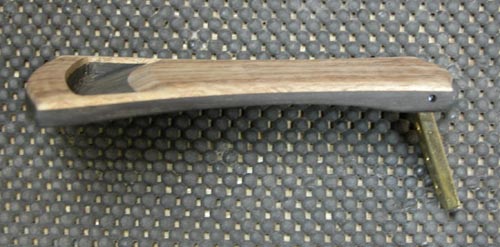
Tailpiece slotted for the hinge. | |
 | |
|
Hinge detail | |
 | |
|
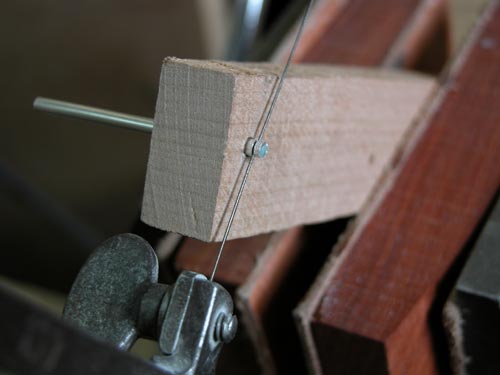
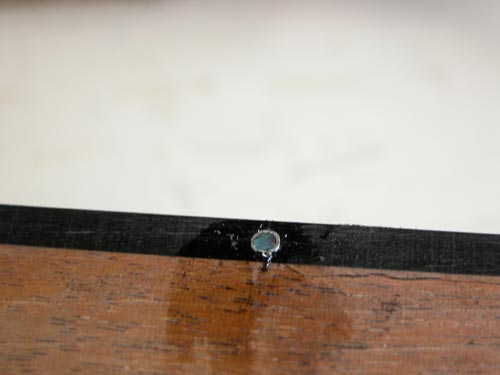
Complete. The rod is steel and the hole will be filled. | |
 | |
|
The guitar ready for lacquer. A coat of blonde shellac has been applied to give it that amber tone. | |
 | |
|
The wiring harness. | |
 | |
|
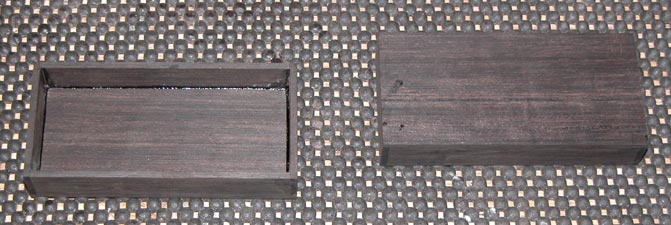
Ebony pickup rings. These are made with 1/8" thick pieces. First the ring is glued together and then a top piece is fitted. The holes will be routed nad drilled after shaping. | |
 | |
|
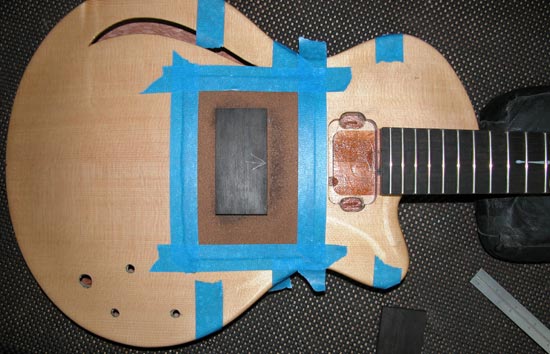
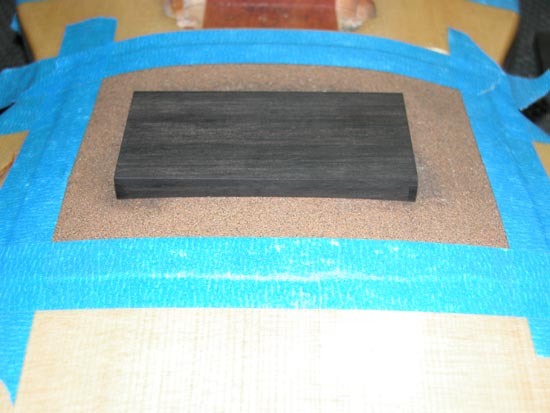
Sandpaper is taped to the guitar body to sand the covers to fit the curve exactly. | |
 | |
|
Fit to the curve. | |
 | |
|
|
|
|
|
|